Lots of tutorials for Phaser assume all your game’s code will be in one JavaScript file and that all your dependencies will be downloaded by hand. In a real world development environment this would not be a feasible setup.
In a modern development environment, you’ll be using something like Yarn to manage your dependencies and Webpack to bundle your code. In some cases you might be using a tool to transpile your code.
So let’s go over what a modern Phaser development setup would look like. This tutorial is for people who understand some JavaScript, but are unfamiliar with how a full JavaScript project is typically set up.
If you already understand the concepts of dependency management, code bundling, and transpiling, then head down to the Putting It All Together section where we set up our development environment.
If you’re only here for the final product, skip to The End which has a link to a GitHub repository with our final setup.
Dependency Management
You already have one dependency for your Phaser game: Phaser. You can download the library manually, but if there is any kind of automated build or deployment for your game, you won’t have an automatable set up. Instead, you should use a tool to take care of downloading your dependencies for you. We’ll use Yarn, one of the most popular tools for this job.
Follow Yarn’s official installation instructions to download and install it to your machine. Yarn runs on Node, so that will also need to be installed on your system (Yarn’s documentation will help you with that too).
Code Bundling
Big games don’t happen in one file. It gets hard to keep track of everything in your codebase without having some sort of organizational structure. This means you’ll end up with tens or hundreds of source files by the time your game is complete. It’s unrealistic to include each of these JavaScript files by hand, as well as maintain that list. Instead, we’ll use Webpack to bundle our code into a single source file. Then we’ll only have one JavaScript file for our game to include on our HTML page.
In a slightly fancier maneuver, we’ll also tell Webpack to bundle our dependencies separately into a second file. This way when we make changes to our game, Webpack won’t have to rebundle our dependencies each time it rebundles our source files.
Webpack itself will be one of our dependencies for our project, so we’ll take care of installing that later with Yarn.
Transpiling
JavaScript lives in an interesting world. A specification exists for the language that has defined versions to it. Modern browsers fully support the ES5 version. The next version, ES6 (or ES2015, or ESNext, there are a lot of names for it) is only partially supported by browsers. However, since the specification is fully defined, people have written “transpilers” which take ES6 code and turn it back into ES5 code. This allows developers to use the latest version of the JavaScript specification and still allow their code to be run in browsers.
One of the most popular transpilers is a tool called Babel. It works nicely with Webpack, so we’ll use the two together.
Putting It All Together
We made it to the fun part! We’re going to set up our development environment now.
You’ve got Yarn installed now, right? If not, head over to their website and follow their instructions to install it.
Make an empty folder somewhere on your computer where we’ll make our game, then cd into it.
mkdir ~/src/snowbillr/phaser3-webpack-es6-dev-starter
Like we said before, Yarn will be our tool to manage our dependencies. It keeps track of them using a package.json file. We could make this file ourselves, but why not have Yarn do the legwork for us? From your game’s directory, run the following command:
yarn init
Yarn will run through some questions about your project. Answer them however you want, I included mine for reference below. You can press Enter to accept the default answer for each question.
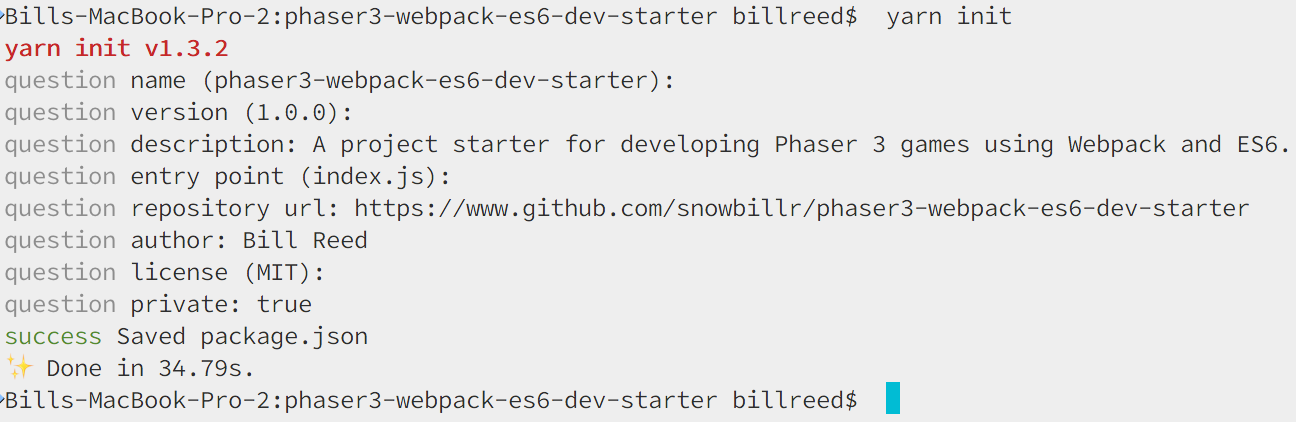
Yarn just created a package.json file for you with all the answers to the questions you answered. The main field isn’t important for our project (it has to do with someone else installing your project as a dependency), so we can delete it.
Installing Our Dependencies
Now that Yarn knows we have a project, let’s use it to install our dependencies. Projects have a list of their development dependencies and their production dependencies. We’ll need to install Webpack and Babel for our development dependencies, and Phaser for our production ones.
Let’s first tell Yarn to install Webpack as a development dependency.
yarn add --dev webpack@^3.0.0
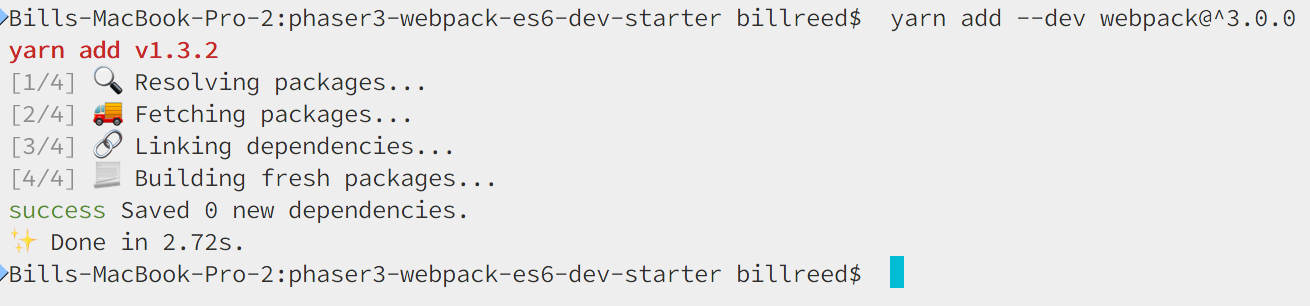
We use the --dev flag to tell Yarn that this is a development dependency. We could also use the equivalent -D flag. We’re also telling Yarn to install version 3 of Webpack. The latest version is actually 4, but the Webpack website hasn’t updated its documentation to reflect the new version, so it’s much easier to set up and configure version 3.
Babel works with Webpack through a loader, so we’ll need to install babel-loader (specifically version 7, which is the version compatible with Webpack 3).
yarn add -D babel-loader@^7.0.0
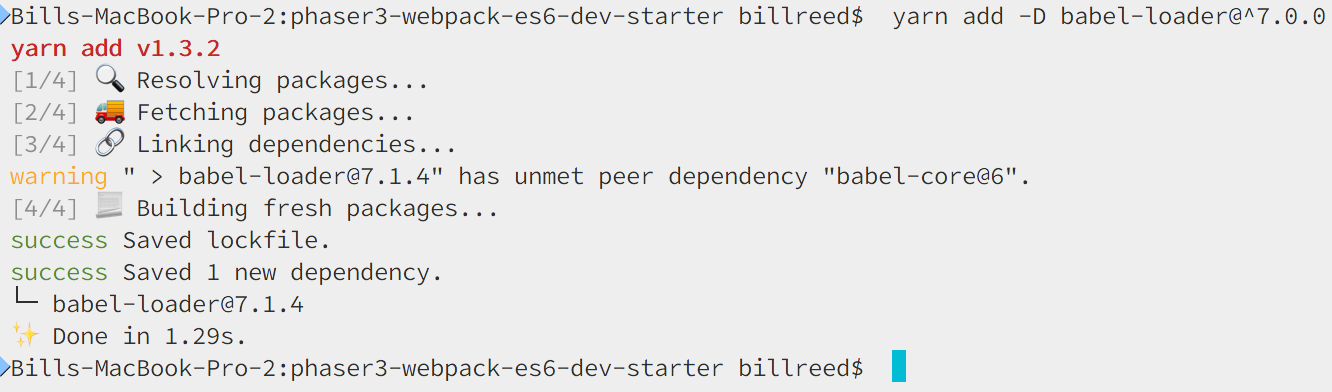
What’s this, a warning?
“babel-loader@7.1.4” has unmet peer dependency “babel-core@6”
Looks like we need to install a peer dependency of babel-loader’s. This is a third type of dependency in addition to production and development. Some packages also require you to install peer dependencies of theirs. In this case, we need to install babel-core@6.
yarn add -D babel-core@6
Last, but definitely not least, we need to install Phaser. This time, we are installing it as a production dependency. This is Yarn’s default mode, so we don’t need to tell it anything special.
yarn add phaser@^3.0.0
And that’s it! We are done installing our dependencies. If everything has gone correctly, your package.json file should have two new entries in it: devDependencies and dependencies.
So let’s move on to…
Configuring Webpack Part 1: Babel and Webpack Dev Server
Okay, here’s a quick Webpack 101: your configuration goes in a webpack.config.js file where you tell Webpack where your source files are located, and where you want the single bundled output file to go. You also tell Webpack to run your files through babel-loader to transpile them.
Webpack expects this configuration file to export a JSON object with all those instructions. Make a webpack.config.js file at the root of your project’s directory and export an empty JSON object from it.
module.exports = {

};
Let’s start with our source files. Our project is going to have a single file that starts the game and imports all the other files it needs. Make an empty file at phaser3-webpack-es6-dev-starter/src/index.js, we’ll put our code in it after we’ve told Webpack what to do with it. Tell Webpack about it by defining it as our entry point in webpack.config.js.
module.exports = {
  entry: {
    app: './src/index.js'
  }
};
You can see that we are calling this entry point app. This isn’t entirely important for our project, but for more complex Webpack configs it matters.
And we’ll tell Webpack to output our bundled file to the build/ directory (don’t forget to require path at the top of your file).
const path = require('path');

module.exports = {
  entry: {
    app: './src/index.js'
  },

  output: {
    path: path.resolve(__dirname, 'build'),
    filename: 'app.bundle.js'
  }
}
The funkiness around the path variable is necessary because Webpack requires an absolute path to the file and not a relative one.
Now we need to tell Webpack to run our code through the babel-loader when bundling it. Bear with me on this one:
const path = require('path');

module.exports = {
  entry: {
    app: './src/index.js'
  },

  output: {
    path: path.resolve(__dirname, 'build'),
    filename: 'app.bundle.js'
  },

  module: {
    rules: [
      {
        test: /\.js$/,
        include: path.resolve(__dirname, 'src/'),
        use: {
          loader: 'babel-loader',
          options: {
            presets: ['env']
          }
        }
      }
    ]
  }
}
deep breath Webpack bundles code by traversing through your code base and resolving all of its modules (this term comes from the concept of importing and exporting code from different source files). So here, we are telling Webpack about special rules to follow when it’s traversing our code. This special rule says that for all the source files whose name’s match the regular expression /\.js$/ and that are found in the src/ directory, use the babel-loader for them. We’re also giving babel-loader some instructions in the form of a preset. This preset is another development dependency that we’ll need to install with Yarn.
yarn add -D babel-preset-env
The babel-preset-env preset is how we tell Babel what ES6/ES7/ES8 features we want to be transpiled. The way we are using it, with no additional options, means that we are getting all the features of the latest version of the JavaScript specification and none of the features that are still in proposal stages. You can learn more about how the preset works here, specifically the section on supporting the latest features.
If you want to get advanced with your usage of Babel and pick and choose what JavaScript features you want supported, you’ll probably need to use some combination of the include and exclude options for the preset.
Before we go any further and bring Phaser into the mix, let’s test out our config and make sure it’s working. We’ll make a file for our entry point (src/index.js) as well as another file that we’ll import to make sure our bundling is working correctly.
For now, we’ll keep it simple and make sure our Webpack config can handle a single file. Open up the empty src/index.js file from before, and put the following code in it.
const messageEl = document.createElement('div');
messageEl.textContent = 'I was put here by JavaScript!';
document.body.appendChild(messageEl);
Great, we have our JavaScript file, but how do we tell Webpack to actually run? Remember that main entry we deleted from our package.json file? It wasn’t important for our project because no one is installing our project as a dependency. However, it is important to Webpack since we’ve installed it as our dependency (technically we care about the bin entry to Webpack’s package.json, but it’s the same idea). Yarn knows how to read Webpack’s package.json file and run it for us.
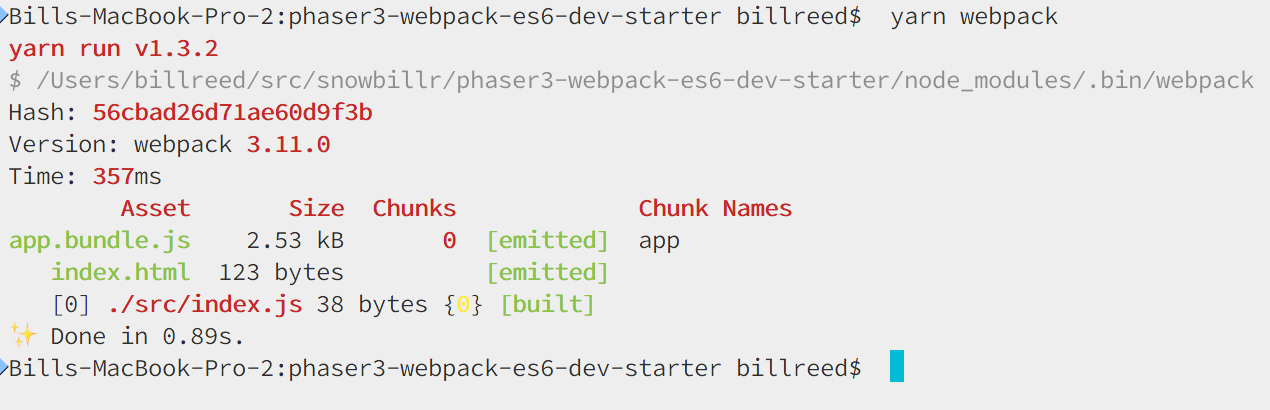
yarn run webpack
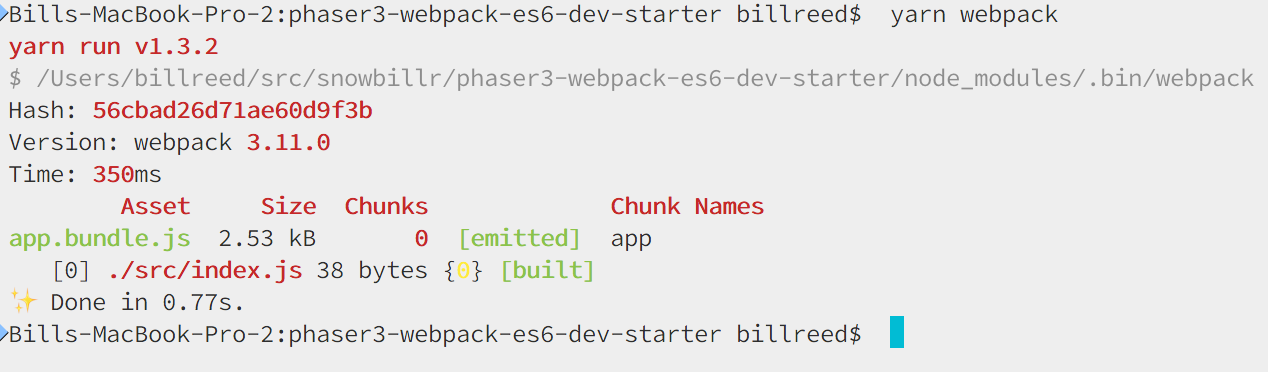
That’s Webpack telling us that it’s done! It has created the build/ folder for us and stuck an app.bundle.js file in there.
Awesome! How do we open that file up in our browser to see if it actually worked or not? Luckily for us, there is a tool that makes this really, really easy. It’s called webpack-dev-server and it’s another dependency we need to install.
yarn add -D webpack-dev-server@^2.0.0
Webpack Dev Server does a couple neat things. It automatically calls Webpack to bundle our code for us, and it runs a server that we can hit in our browser to run our bundled code. The extra neat part is that it will automatically re-run Webpack every time we change our code. So we won’t need to manually run Webpack anymore, Webpack Dev Server will take care of it for us.
We’ll need to configure Webpack Dev Server to serve our code from the build/ folder. Add a devServer entry to our Webpack configuration file:
var path = require('path');

module.exports = {
  entry: {
    app: './src/index.js'
  },

  output: {
    path: path.resolve(__dirname, 'build'),
    filename: 'app.bundle.js'
  },

  module: {
    rules: [
      {
        test: /\.js$/,
        include: path.resolve(__dirname, 'src'),
        use: {
          loader: 'babel-loader',
          options: {
            presets: ['env']
          }
        }
      }
    ]
  },

  devServer: {
    contentBase: path.resolve(__dirname, 'build'),
  }
};
We can run webpack-dev-server with Yarn in the same way we ran webpack.
yarn run webpack-dev-server
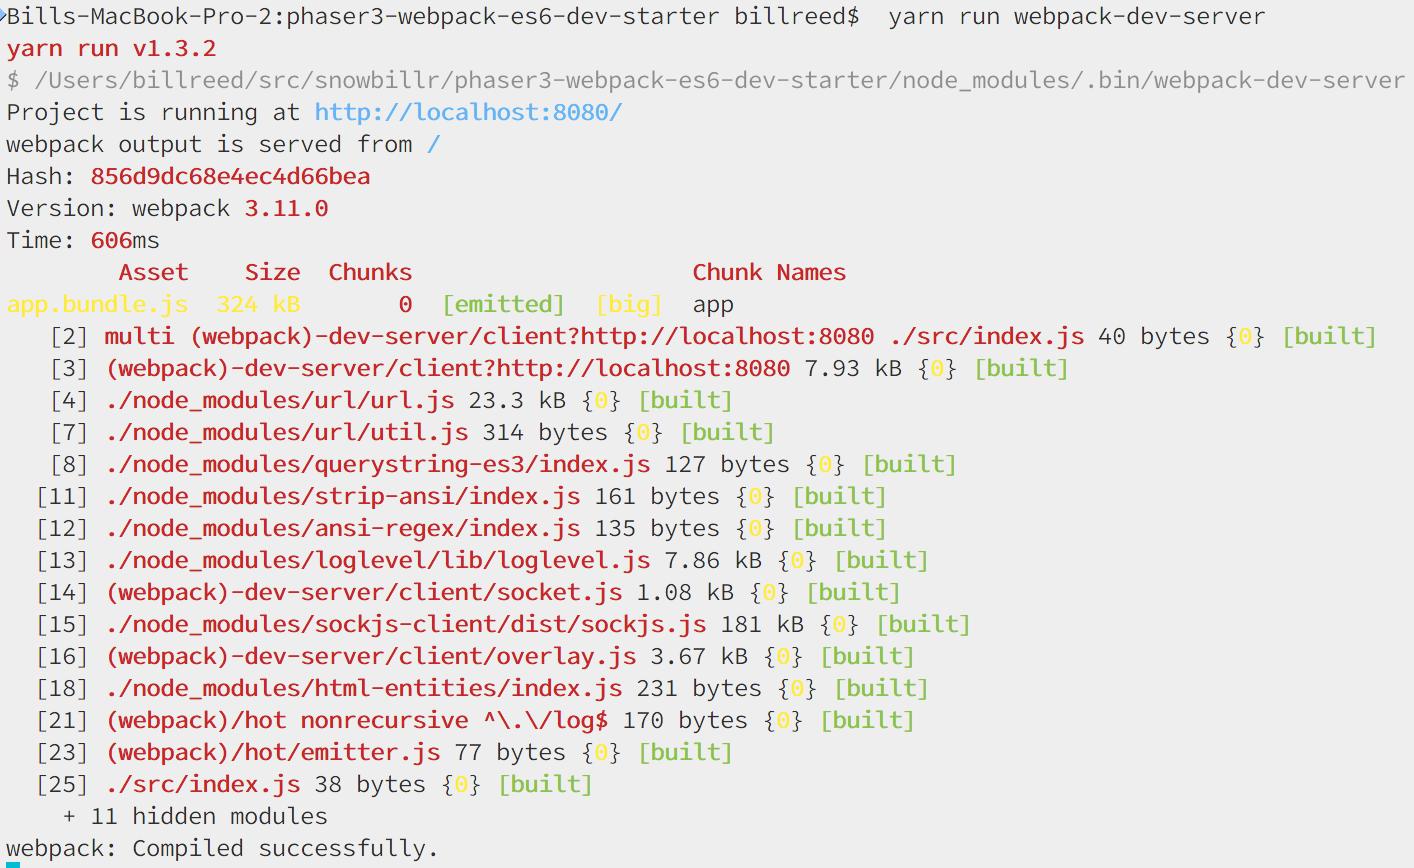
This output is telling us that we now have a server running at http://localhost:8080. If we open up our web browser and navigate to that page, our JavaScript file won’t be running quite yet. We’ll need an HTML file for it to serve where we are including our JavaScript file.
Let’s make that HTML file at the root of our directory, and set it up to include our bundled JavaScript.
<html>
  <head>
  </head>
  <body>
    <script src="app.bundle.js"></script>
  </body>
</html>
Then, we’ll tell Webpack to copy this file into our build/ directory every time it bundles our code. To do this, we’ll use a plugin for Webpack, specifically the CopyWebpackPlugin. Guess how we’ll install this dependency?
yarn add -D copy-webpack-plugin
Then we’ll tell Webpack to use it. Don’t forget to require the plugin at the top of the file.
const path = require('path');
const CopyWebpackPlugin = require('copy-webpack-plugin');

module.exports = {
  entry: {
    app: './src/index.js'
  },

  output: {
    path: path.resolve(__dirname, 'build'),
    filename: 'app.bundle.js'
  },

  module: {
    rules: [
      {
        test: /\.js$/,
        include: path.resolve(__dirname, 'src/'),
        use: {
          loader: 'babel-loader',
          options: {
            presets: ['env']
          }
        }
      }
    ]
  },

  devServer: {
    contentBase: path.resolve(__dirname, 'build'),
  },

  plugins: [
    new CopyWebpackPlugin([
      {
        from: path.resolve(__dirname, 'index.html'),
        to: path.resolve(__dirname, 'build')
      }
    ])
  ]
}
If we run Webpack again, it will tell us it created the app.bundle.js file, as well as moved the index.html file. Take a look in the build/ directory to verify that our index.html file was copied there.
Okay, let’s try running Webpack Dev Server again and see what happens.
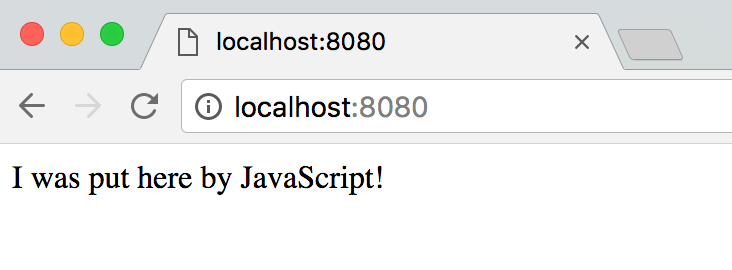
Yes! We’ve got our dev server up and running and it’s serving our code. The best part is, as we make changes to our code it will automatically refresh the browser to run our latest changes. To prove it, change the text being added to the DOM in our JavaScript. Then look back at your browser and see that it’s automatically updated.
Time to make sure our code bundling is working. Let’s add a second JavaScript file to the mix. Just as a quick experiment, rather than our index.js file doing the work to put our message into the DOM, let’s make a file that is responsible for doing just that.
Create a src/messager.js file that exports a showMessage function that we’ll call from our src/index.js file.
src/messager.js:
export function showMessage(messageText) {
  const messageEl = document.createElement('div');
  messageEl.textContent = messageText;
  document.body.appendChild(messageEl);
}
src/index.js:
import { showMessage } from './messager';

showMessage('Somebody else did this work!');
Now look at the browser again, it should say our new message.
Configuring Webpack Part 2: Phaser
Okay, we’ve verified our Webpack setup is working correctly, now it’s time to actually use our Phaser dependency.
Phaser needs an extra tweak to our Webpack config to get it working. We need to define two global variables to tell Phaser which renderers are available when building: WEBGL_RENDERER and CANVAS_RENDERER. For now, we’ll use the built-in DefinePlugin to set them both to true.
For more advanced use cases, these two global variables determine which renderer is included in the Phaser build. If you only want to run your game with WebGL, then you’d set WEBGL_RENDERER to true, and CANVAS_RENDERER to false. This way, your final code bundle would be smaller because all the canvas rendering code would be left out.
So we have one thing to do: define the two renderer global variables for Phaser’s build.
const path = require('path');
const CopyWebpackPlugin = require('copy-webpack-plugin');
const webpack = require('webpack');

module.exports = {
  entry: {
    app: './src/index.js'
  },

  output: {
    path: path.resolve(__dirname, 'build'),
    filename: 'app.bundle.js'
  },

  module: {
    rules: [
      {
        test: /\.js$/,
        include: path.resolve(__dirname, 'src/'),
        use: {
          loader: 'babel-loader',
          options: {
            presets: ['env']
          }
        }
      }
    ]
  },

  devServer: {
    contentBase: path.resolve(__dirname, 'build'),
  },

  plugins: [
    new CopyWebpackPlugin([
      {
        from: path.resolve(__dirname, 'index.html'),
        to: path.resolve(__dirname, 'build')
      }
    ]),
    new webpack.DefinePlugin({
      'typeof CANVAS_RENDERER': JSON.stringify(true),
      'typeof WEBGL_RENDERER': JSON.stringify(true)
    })
  ]
}
Bonus advanced details: the reason we are defining the global variables as “typeof X_RENDERER” instead of X_RENDERER is because Phaser supports other code bundlers than just Webpack. The DefinePlugin works more as a “find and replace plugin”, and will replace every instance of the text typeof CANVAS_RENDERER in the code with true. If instead, we omitted the typeof and just used CANVAS_RENDERER, other build systems would not replace it with true, the variable would evaluate to false, and the build would exclude both renderers.
Any time you make a change to your Webpack config file you’ll need to restart Webpack Dev Server. Kill the currently running one and run it again with Yarn.
Now let’s create a dead simple Phaser “game”. I put quotes around game because all we’re going to do is show some text on the screen.
We can go ahead and delete the src/messager.js file from before, we won’t be using that anymore. We’ll also start ourselves off with some good organization by creating a src/scenes/simple-scene.js file where we will define our scene, and then use it in our src/index.js file.
src/index.js
import 'phaser';

import { SimpleScene } from './scenes/simple-scene';

const gameConfig = {
  width: 680,
  height: 400,
  scene: SimpleScene
};

new Phaser.Game(gameConfig);
src/scenes/simple-scene.js
export class SimpleScene extends Phaser.Scene {
create() {
this.add.text(100, 100, 'Hello Phaser!', { fill: '#0f0' });
}
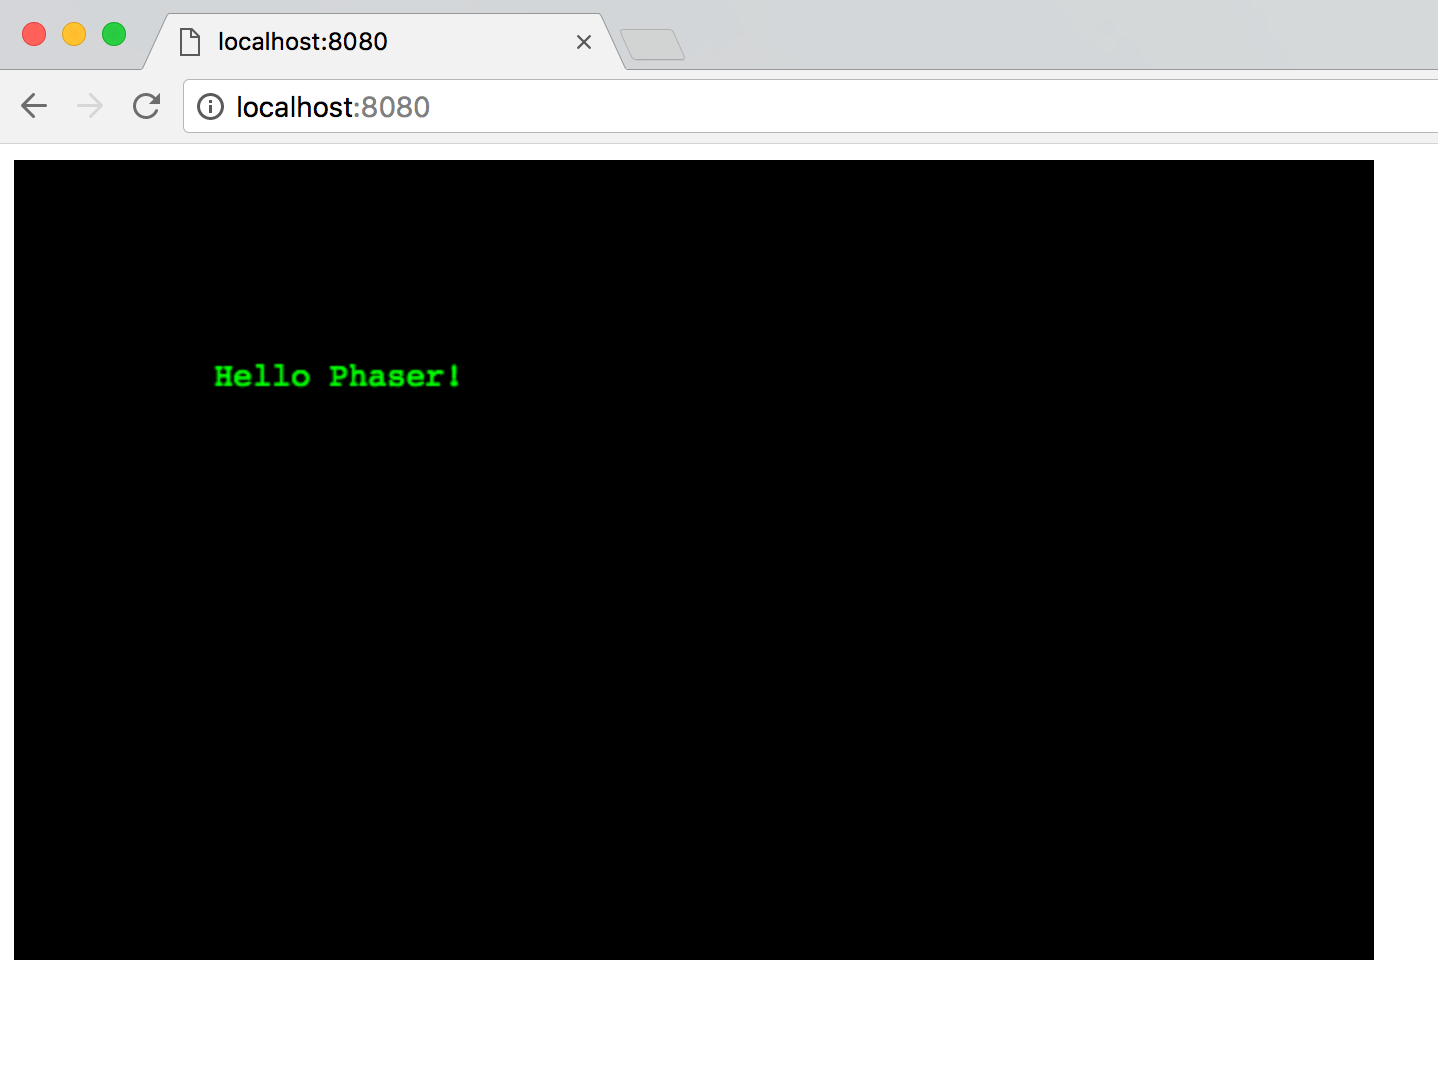
}
Take a look at the browser again, and you should see our instance of Phaser up and running!
Configuring Webpack Part 3: Assets
What’s a game without assets? We need to make sure that our setup can load images, tilemaps, sounds, and whatever else our game needs.
To get started, we’ll make sure we can load a simple image into our game. Go ahead and download this image which I found in the Phaser 3 examples repository.
Side note: the Phaser 3 examples repo is one of the best learning resources out there for Phaser. If you have questions about how to do something, chances are there is an example for it. And if there isn’t and you figure out how to do it anyway, make a pull request on the repo! Secondly, the amount of free assets that are provided in that repository is astounding. Thanks Rich.
I liked the Coke can sprite, so I chose that one. Feel free to pick whichever one you want though.
Make an assets directory at the top level of your project and put the image file you downloaded in there. This is the directory where we’ll keep our images, spritesheets, sounds, tilemaps, and whatever other assets we use in our game.
Let’s try to add the image into our scene.
export class SimpleScene extends Phaser.Scene {
  preload() {
    this.load.image('cokecan', 'assets/cokecan.png');
  }

  create() {
    this.add.text(100, 100, 'Hello Phaser!', { fill: '#0f0' });
    this.add.image(100, 200, 'cokecan');
  }
}
Running that in the browser gives us a scene that looks like this:
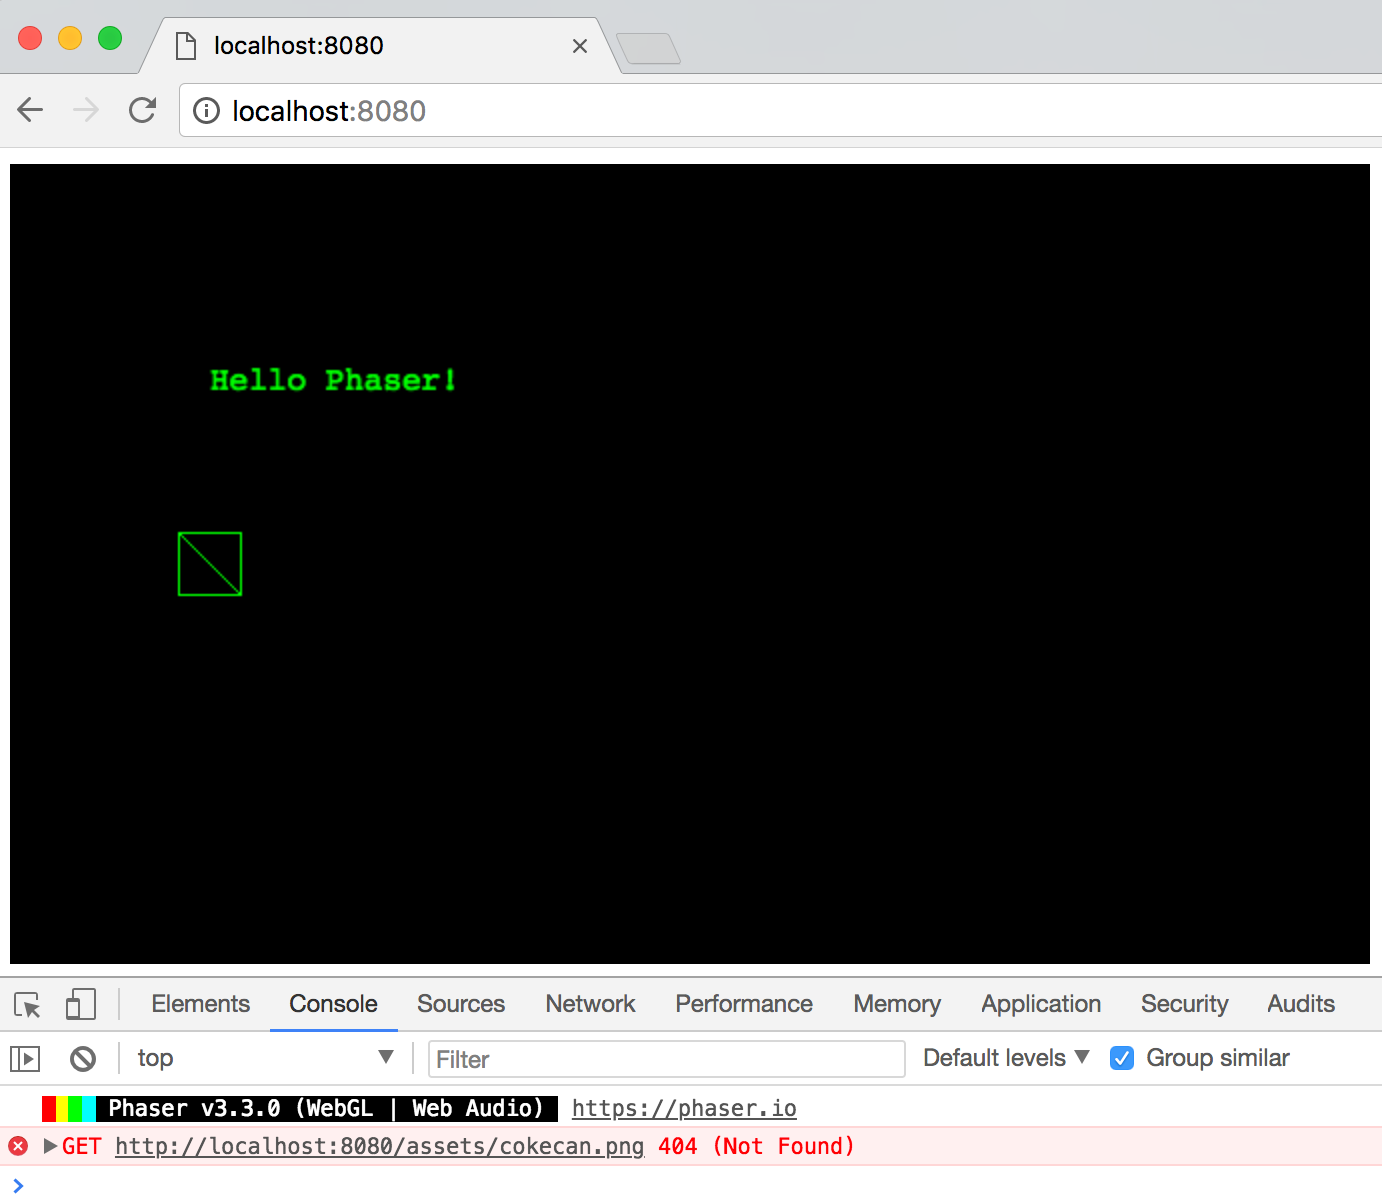
Whoops, our image file can’t be found by Phaser.
This is because Webpack Dev Server is serving our code from the build/ directory, but our assets are not in there. As part of our build process, we need to copy our assets from the assets/ folder into a folder inside the build/ directory. This should be very similar to how we copied the index.html file into the build/ directory.
const path = require('path');
const CopyWebpackPlugin = require('copy-webpack-plugin');
const webpack = require('webpack');

module.exports = {
  entry: {
    app: './src/index.js',
    'production-dependencies': ['phaser']
  },

  output: {
    path: path.resolve(__dirname, 'build'),
    filename: 'app.bundle.js'
  },

  module: {
    rules: [
      {
        test: /\.js$/,
        include: path.resolve(__dirname, 'src/'),
        use: {
          loader: 'babel-loader',
          options: {
            presets: ['env']
          }
        }
      }
    ]
  },

  devServer: {
    contentBase: path.resolve(__dirname, 'build'),
  },

  plugins: [
    new CopyWebpackPlugin([
      {
        from: path.resolve(__dirname, 'index.html'),
        to: path.resolve(__dirname, 'build')
      },
      {
        from: path.resolve(__dirname, 'assets', '**', '*'),
        to: path.resolve(__dirname, 'build')
      }
    ]),
    new webpack.DefinePlugin({
      'typeof CANVAS_RENDERER': JSON.stringify(true),
      'typeof WEBGL_RENDERER': JSON.stringify(true)
    })
  ]
}
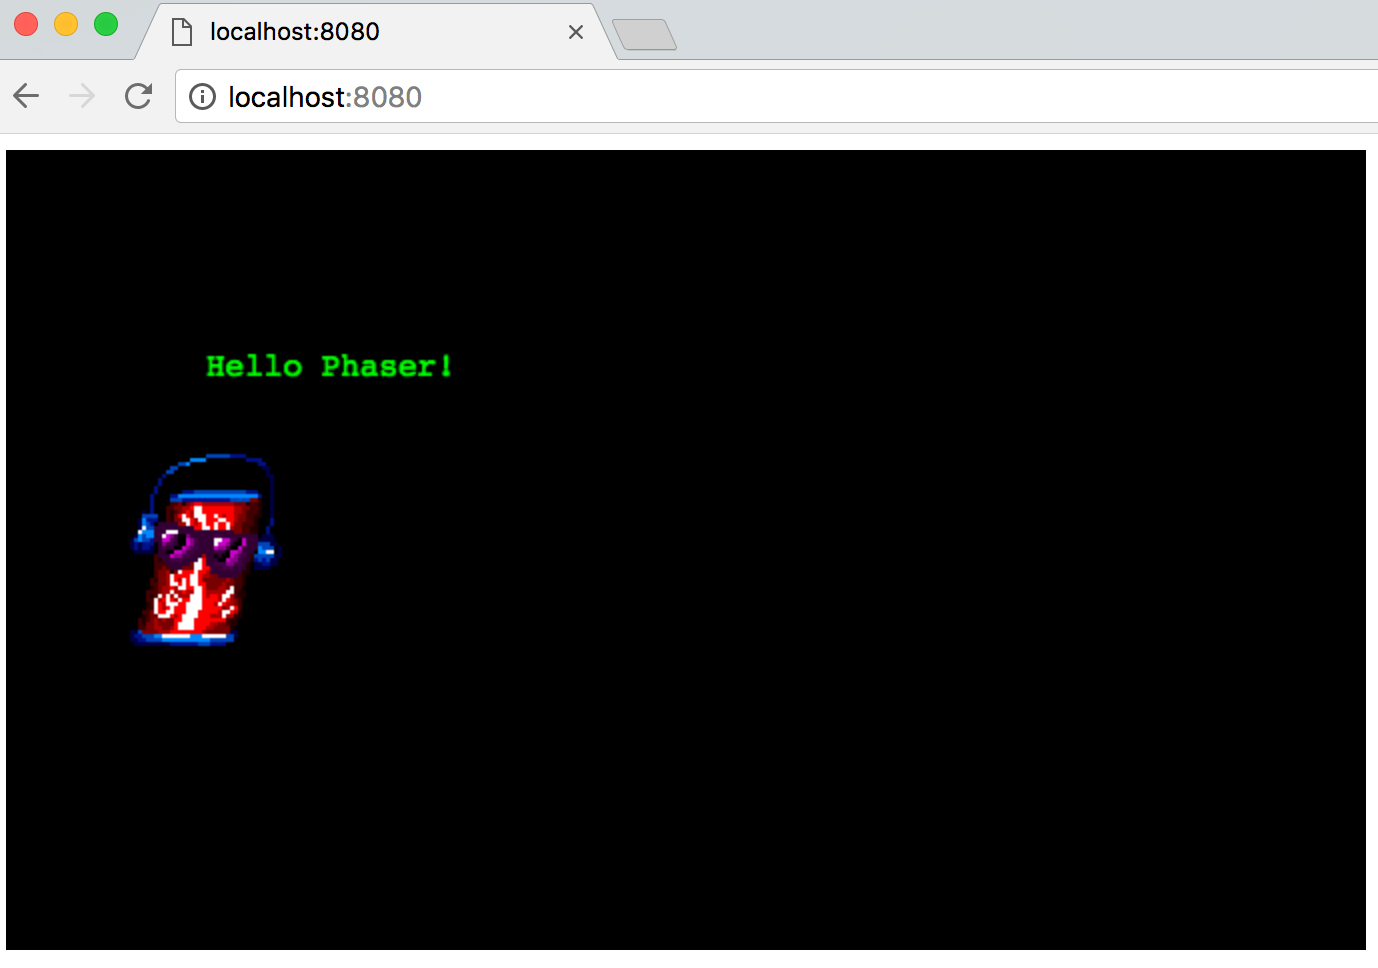
And voila!
Configuring Webpack Part 4: Bundling Phaser Separately
You thought we were done, didn’t you? We have our “game” up and running, but there’s still one thing left to do.
The problem is that Webpack is bundling our game’s code with Phaser’s code every single time we change something in our game. That means it’s not just looking at our 2 files and combining them, but also the hundreds of files in Phaser and combining them as well. That’s a ton of extra work we’re making Webpack do, and you can actually notice the build taking more time now that we are importing Phaser.
But the Webpack people were smart. They knew that this would be a problem and they came up with a great solution for it. Instead of only creating one bundle with all the code in it, we are going to make two bundles. One with our game’s code, and one with all the code for our production dependecies (i.e. just Phaser). This way, we’ll have one bundle that will be rebuilt frequently (our game’s bundle) and one that will almost never change (the production dependencies bundle).
To do this, we’ll use a plugin built in to Webpack called the CommonsChunkPlugin. Scary name, but all it means is that it’s going to take all the common code (Phaser) out of our main bundle and put it in a separate bundle. We’ll use the plugin by making a new entry point for the second bundle and telling Webpack that 'phaser' is our common code. We don’t need to tell Webpack about an output file for this second bundle because the CommonsChunkPlugin will take care of that for us.
const path = require('path');
const CopyWebpackPlugin = require('copy-webpack-plugin');
const webpack = require('webpack');

module.exports = {
  entry: {
    app: './src/index.js',
    'production-dependencies': ['phaser']
  },

  output: {
    path: path.resolve(__dirname, 'build'),
    filename: 'app.bundle.js'
  },

  module: {
    rules: [
      {
        test: /\.js$/,
        include: path.resolve(__dirname, 'src/'),
        use: {
          loader: 'babel-loader',
          options: {
            presets: ['env']
          }
        }
      }
    ]
  },

  plugins: [
    new CopyWebpackPlugin([
      {
        from: path.resolve(__dirname, 'index.html'),
        to: path.resolve(__dirname, 'build')
      },
      {
        from: path.resolve(__dirname, 'assets', '**', '*'),
        to: path.resolve(__dirname, 'build')
      }
    ]),
    new webpack.DefinePlugin({
      'typeof CANVAS_RENDERER': JSON.stringify(true),
      'typeof WEBGL_RENDERER': JSON.stringify(true)
    }),
    new webpack.optimize.CommonsChunkPlugin({
      name: 'production-dependencies',
      filename: 'production-dependencies.bundle.js'
    }),
  ],

  devServer: {
    contentBase: path.resolve(__dirname, 'build'),
  }
}
Last step is to include this new production-dependencies.bundle.js file in our index.html file. Make sure to include it before our game’s code, because we need Phaser to be available before our code is executed.
<html>
  <head>
  </head>
  <body>
    <script src="production-dependencies.bundle.js"></script>
    <script src="app.bundle.js"></script>
  </body>
</html>
The End
Phew, we made it. And now you’ve got a decent setup for developing a modern Phaser 3 game:
- We’re using ES6
- We’ve got a module system set up to separate the concerns in our code base
- We’ve got a way to load assets
- We’ve got a quick development workflow that automatically updates our running code
- We’re bundling out dependencies separately from our own code
If you want to see what the full setup looks like, you can view it on GitHub.
Epilogue
This set up is geared towards the development of a Phaser 3 game. When it comes to making your production build, you’ll need to add some more configuration to your webpack.config.js. You’ll add in the UglifyJs plugin to minify your code, and probably end up using a different HTML file to present your game.
And don’t worry, the work you’ve done by following this guide hasn’t been in vain. You’ll be able to take your project setup in its current form and add in the extra configuration we just talked about by adding to your existing Webpack config file.
Happy coding!
Update
5/9/2018: The release of Phaser 3.7 changed up the requirements for the Webpack config a little bit. The article was updated to to reflect the new configuration.